


Contents:
| Shock absorber repair: step -by -step guide | |
|
| |
Repair of the shock absorber in the garage usually does not lead to the desired result. However, there are breakdowns that can be eliminated. We will talk about them today.
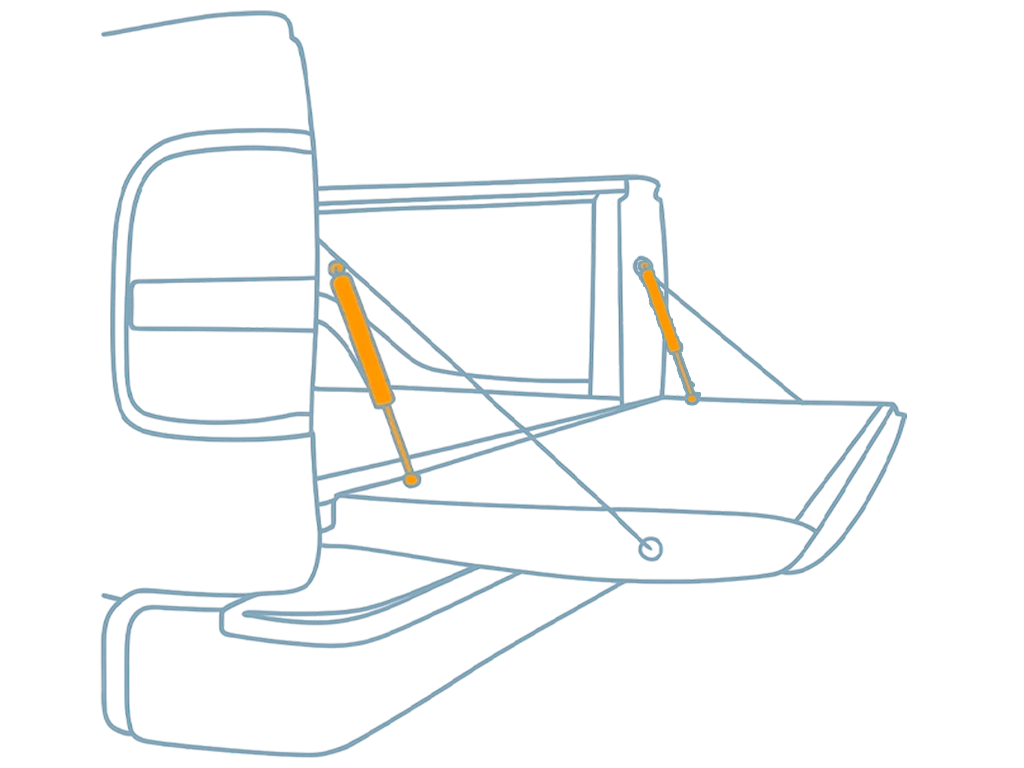
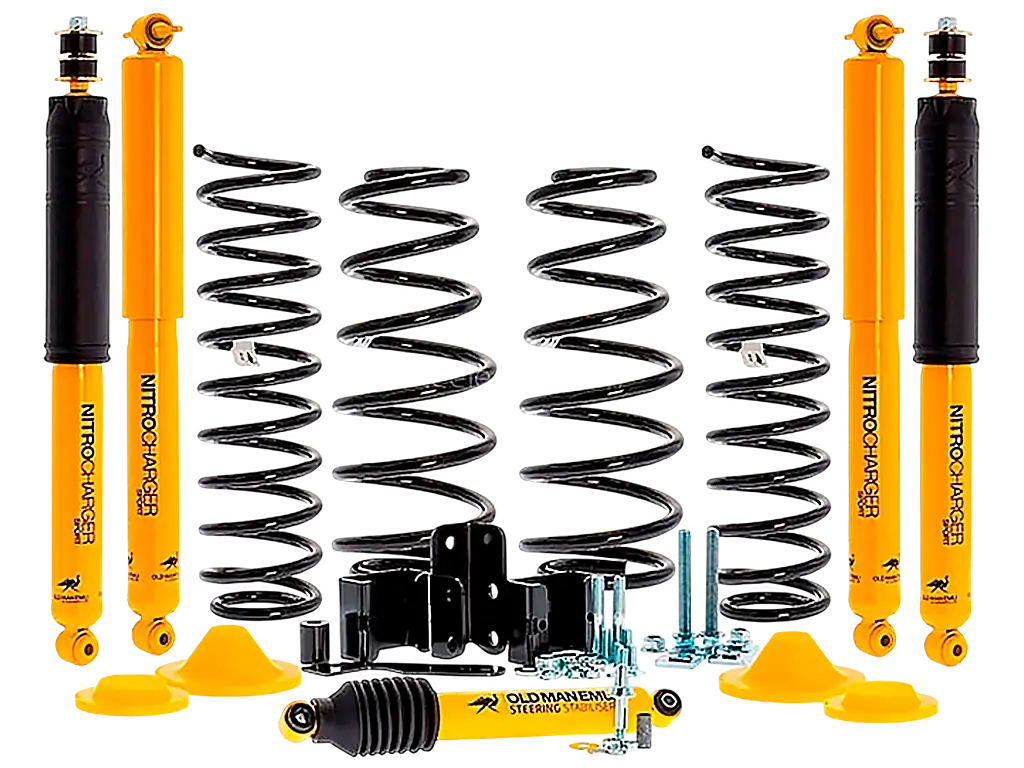
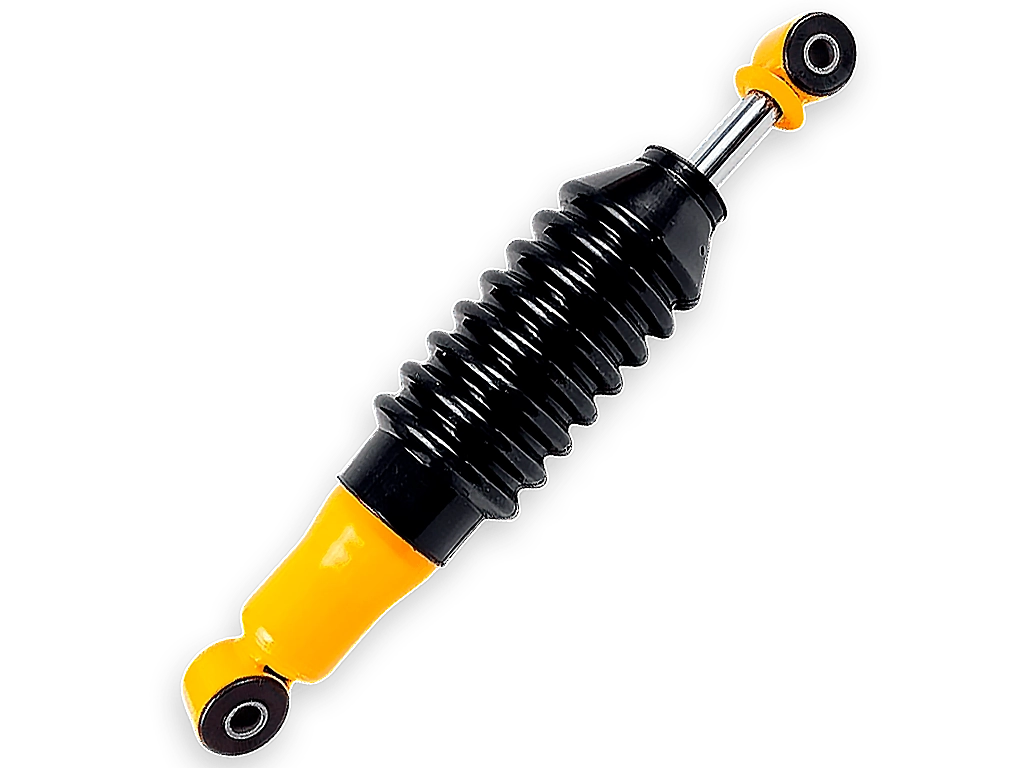
The weaker node Gas -molding shock absorbers There is a rod oil seal, which is worn out of oil from the device. This leads to deterioration of the characteristics of the shock absorber up to complete loss of its efficiency. To prevent this from happening, we bring to your attention a step -by -step guide to repair this part. So let's start:
Step 1.
Step 2.
Step 3 . draining oil and rinse of the body. Step 4. Step 5.
important! After replacing the defective parts of the shock absorber, check the condition of the whole pendants . There are two ways to check the shock absorber for performance: the first - visual (without removing it from the car), the second - detailed (careful check with dismantling). The second is the following procedure: ! the shock absorber is considered to be good if the traces of the depreciation fluid are located between the upper ring of the stem seal and the lower cup of the spring. To make the repair as effective as possible and, most importantly, safe, the following rules should be followed: To repair the shock absorber yourself or to go to the car workshop - decide for yourself. In one case or another, you will need quality spare parts. In our online store you can buy shock absorbers and other original spare parts with an official guarantee from the manufacturer. Choosing yourself using a convenient filter, or contact Vnedorognik.ua experts who will be happy to answer all your questions.
 <
<
Fix the shock absorber in the vise. To protect the body from damage, you can clamp through the fabric.
pick up a protective cover with a flat screwdriver.
carefully punching a rubber gasket, descending the whole gasket.

with two large screwdrivers carefully

Fix the shock absorber in the vise. To protect the body from damage, you can clamp through the fabric.
pick up a protective cover with a flat screwdriver.
then, using a thin screwdriver or tweezers, carefully pull out the locking ring.
gently turn the body and drain the oil.
 <
<
remove from the stem piston with a set of washers, remembering the sequence of their location. For convenience, a plastic clamp or wire can be pulled through the whole set, which will prevent the washing of the washers with each other.

carefully remove the seal holder.
First you need
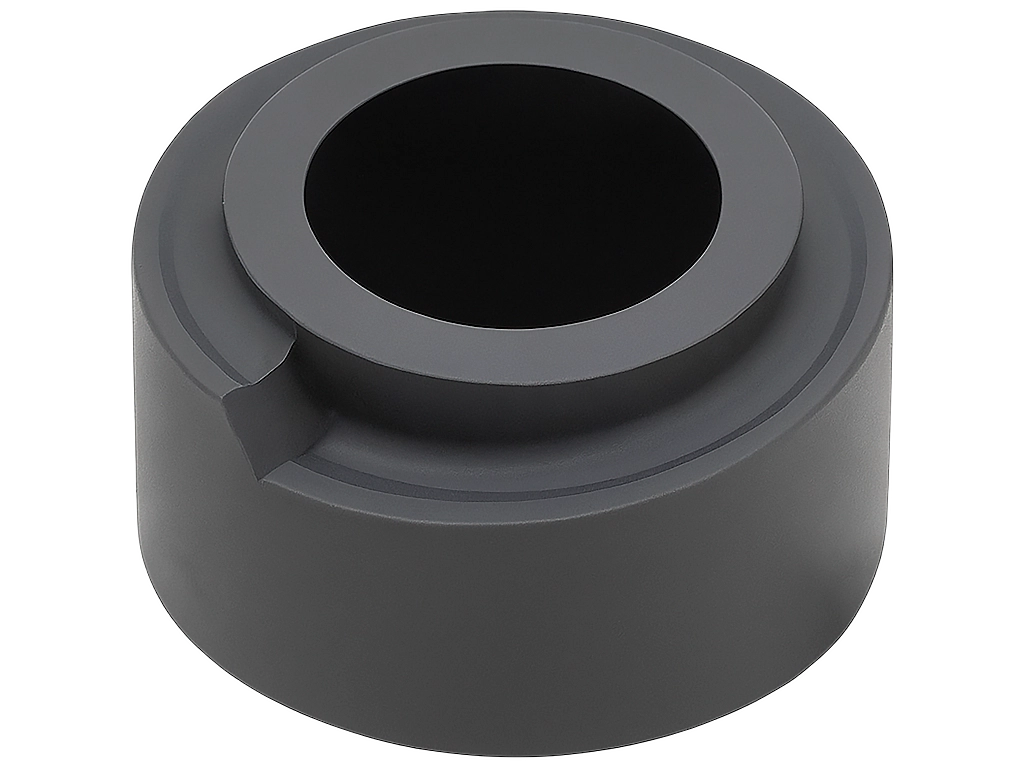
In the presence of any damage on the rubber ring, it is necessary to replace it with a new similar oil resistant ring.
Note. in the absence of any damage-after cleaning, you can return the part to the previous place. Otherwise, replace.
How to check the shock absorber
bumper only a few times.car to determine the shock absorber malfunction).
Note. the rack rod should be moved along the entire length of the course is equally evenly and without jerks;
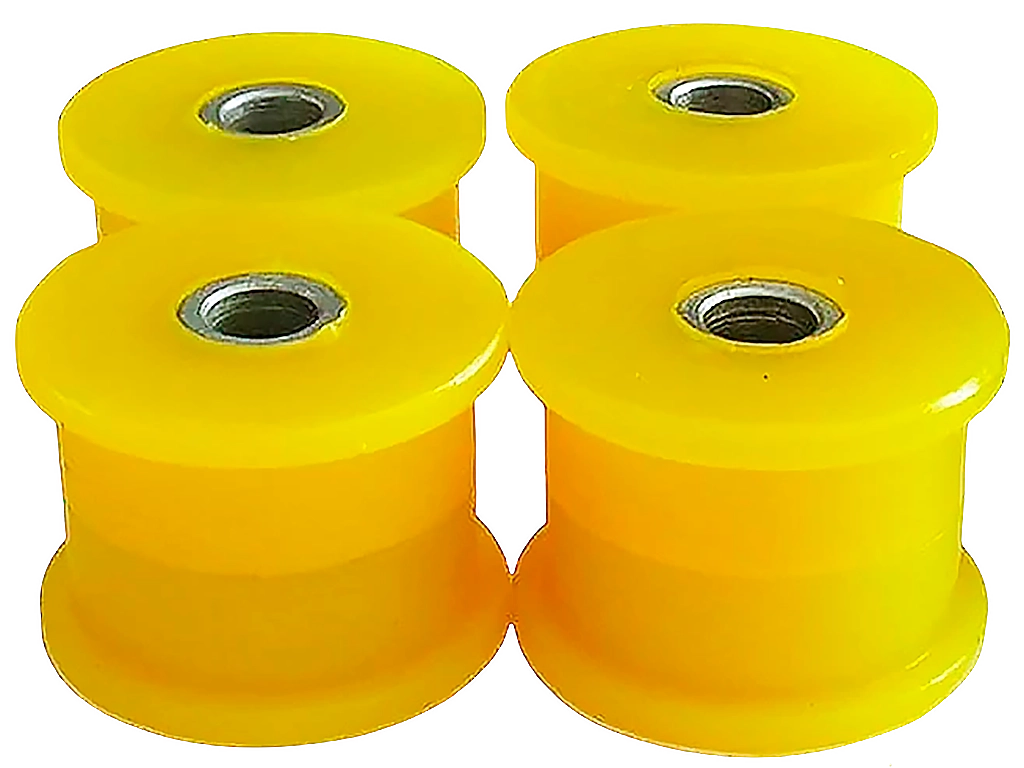
Note. damaged rubber plugs can cause knocks while driving.
The course of the liquid in a small amount has even a positive effect, as there is a lubrication of the seal ring, which increases its life. Safety when carrying out repair work