Contents
When darkness catches you off guard
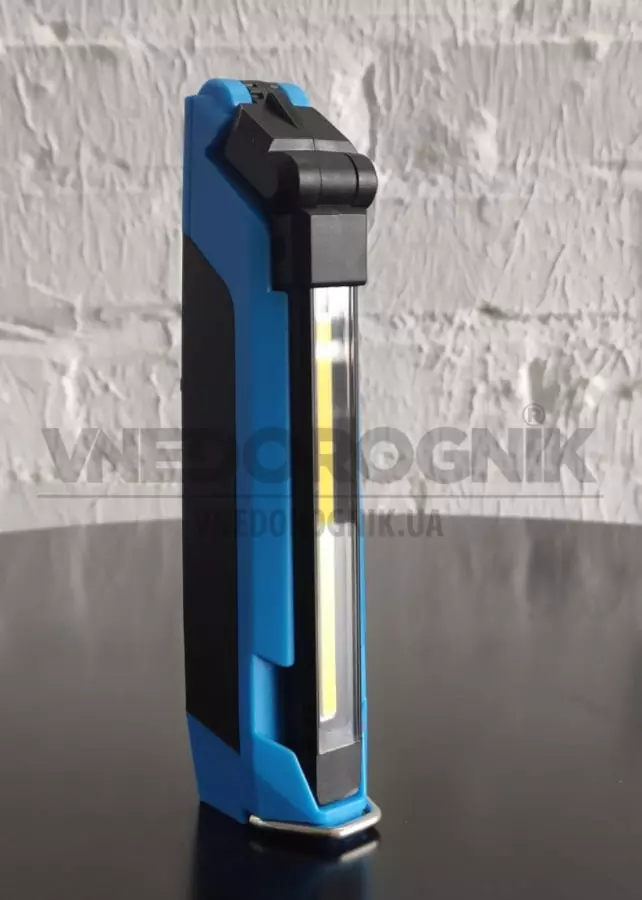
Has it ever happened that you're standing on the side of the road in the middle of the night, and Murphy's Law hits full force? The engine stalled, the flashlight is dead, and your phone, even if it has a light, keeps falling or getting in the way, failing to illuminate the right spot. We've all been through it. That's why we've prepared this guide, so you can solve the lighting problem once and for all and be ready for any surprise. You'll learn how to install reliable under-hood lighting yourself, making any nighttime car repair much easier and safer. Ready to add some light to your car? Let's go!
1. What you'll need: preparing the arsenal
Before rushing into battle, it's important to gather the right arsenal. Quality tools and materials are half the battle and a guarantee that your new under-hood light will serve you for a long time and won't let you down at a critical moment.
Here's your checklist:
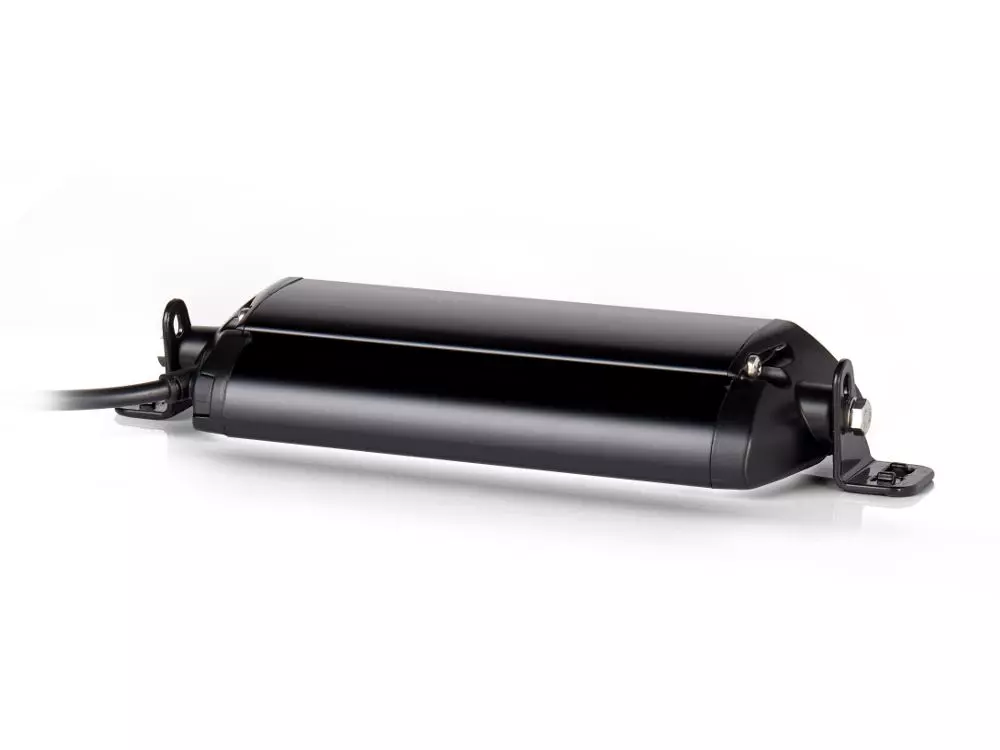
- LED strip for under the hood. A meter of quality strip is more than enough for bright 12V lighting. Don't skimp — cheap analogues dim and peel off after the first winter.
- Toggle switch with a rubber waterproof cap.
- In-line fuse holder.
- Two-core wire (rated for about 5 A).
- Crimper and terminal kit. You'll need at least two female spade terminals and two ring terminals.
- Soldering iron and solder.
- Electrical tape or heat shrink tubing.
- Side cutters and pliers.
- Brake cleaner (or degreaser) and a clean rag.
When everything is ready, let's move on to the installation!

2. Step-by-step installation: from theory to result
Installing under-hood lighting is easier than it seems. The main thing is to do everything sequentially and carefully.
2.1. Wiring diagram (correctly and safely)
Safety recommendation: in a 12V vehicle system, the fuse and switch are placed in the "positive" line break, the "negative" of the strip is securely grounded to the body "mass". The sequence is: Battery (+) → fuse holder (as close to the terminal as possible) → switch → "+" of the LED strip; "−" of the LED strip → "ground" (mass).
2.2. The fuse — your main protector
The fuse is always installed in the positive wire and placed as close as possible to the battery terminal. This way, you protect the entire line from a potential short circuit.
We choose the rating so that it is less than the wire's current rating, but greater than the strip's consumption. For ~1m of LED strip (<1 A) — a 3 A fuse and ~5 A wire is an excellent choice.

2.3. Connecting the switch
- On the positive branch after the fuse holder, crimp a female spade terminal and connect it to one contact of the toggle switch.
- From the second contact of the toggle switch, run the "positive" to the LED strip.
- Terminate the strip's "negative" to a clean "ground" (mass) bolt on the body or engine. For a car that often sees dirt and water, a waterproof cap on the toggle switch is a must-have.

2.4. Routing the wires: neatness and protection
- Run the harness from the battery/switch along the inner fender to the corner of the engine bay.
- Bring it up to the hood and hide it under the reinforcing ribs.
- Important: use protective convoluted tubing; in metal holes — use rubber grommets.
- Lightly secure any sagging — with a drop of silicone sealant or zip ties.
2.5. Mounting and connecting the LED strip
- Surface preparation: clean and degrease the spot under the hood. The 3M adhesive backing holds on a perfectly clean surface.
- Soldering: solder the "+" and "−" to the corresponding contacts on the strip. Don't forget to put on the heat shrink tubing before soldering.
- Mounting: firmly stick the strip. An angle of ~45° often provides light downwards without glare.
- Insulation: heat the heat shrink tubing to protect the solder joints from moisture.

2.6. Final check
First, connect the ring terminals to the battery poles ("+" to positive, "−" to negative). Only after secure mounting, insert the fuse into the holder — this will power the line. A click — and the light should work.

3. Tips and troubleshooting
- Problem 1. The fuse blows immediately after connecting to the battery (even with the light off).
Solution: A short circuit on the "positive" side. The insulation is damaged somewhere and the wire is touching "ground" (mass). Carefully inspect the entire line. Do not install a higher-rated fuse — find and fix the cause. - Problem 2. The fuse blows when the light is turned on.
Solution: The load is too high for the fuse rating (and possibly for the wiring). Reduce the length/power of the strip or switch to a thicker gauge wire and a corresponding fuse. - Golden rule: always use a fuse.
- If you have two batteries: connect the lighting to the auxiliary battery, so you don't accidentally drain the starting battery overnight.
Now you're ready for any adventure!
Congratulations! You didn't just install a light — you gained confidence on the road. No nighttime breakdown or searching for small items under the hood while camping will catch you off guard anymore.
From DIY to PRO: what's next
Share your experience: what DIY car improvements have you already done? Add photos in the comments — let's inspire the community together.
Take it to the next level: if you feel it's time for more complex modifications or want to entrust the work to experts — Vnedorognik is always here to help.


 Ready to ship


 2min
2min